How to Beat Deflation on Tinkerton
https://www.youtube.com/watch?v=E8GTfkWAIyA How to Beat Deflation Mode (Easy) on Tinkerton - BTD6 Strategy
Bloons TD 6 guides for every map and mode, daily challenges and the BTD6 Pedia
https://www.youtube.com/watch?v=E8GTfkWAIyA How to Beat Deflation Mode (Easy) on Tinkerton - BTD6 Strategy
https://www.youtube.com/watch?v=0eb7-cx-S4c How to Beat Primary Only Mode (Easy) on Tinkerton - BTD6 Strategy
https://www.youtube.com/watch?v=6C2JuRk99nc How to Beat Level 100 (Hard) on Tinkerton - BTD6 Strategy
https://www.youtube.com/watch?v=cpuAUJpYweQ How to Beat Standard Mode (Hard) on Tinkerton - BTD6 Strategy
https://www.youtube.com/watch?v=D5CRLDPRV9w How to Beat Standard Mode (Medium) on Tinkerton - BTD6 Strategy
https://www.youtube.com/watch?v=7o9IFVBxGz8 How to Beat Standard Mode (Easy) on Tinkerton - BTD6 Strategy

https://www.youtube.com/watch?v=5zazh8nr52o How to Beat CHIMPS Mode on Castle Revenge? - BTD6 Strategy Guide

https://www.youtube.com/watch?v=6vtIXNlI3Ys How to Beat Impoppable Mode (Hard) on Castle Revenge - BTD6 Strategy
https://www.youtube.com/watch?v=yzMym9_Wjzc How to Beat Half Cash Mode on Castle Revenge - BTD6 Strategy Guide

https://www.youtube.com/watch?v=v8TUmcyGMGg How to Beat Alternate Bloons Rounds Mode (Hard) on Castle Revenge - BTD6 Strategy
https://www.youtube.com/watch?v=8kF0d9fYyy4 How to Beat Level 100 (Hard) on Castle Revenge - BTD6 Strategy Guide

https://www.youtube.com/watch?v=tZDF5ZmckL0 How to Beat Double HP Moabs Mode (Hard) on Castle Revenge - BTD6 Strategy
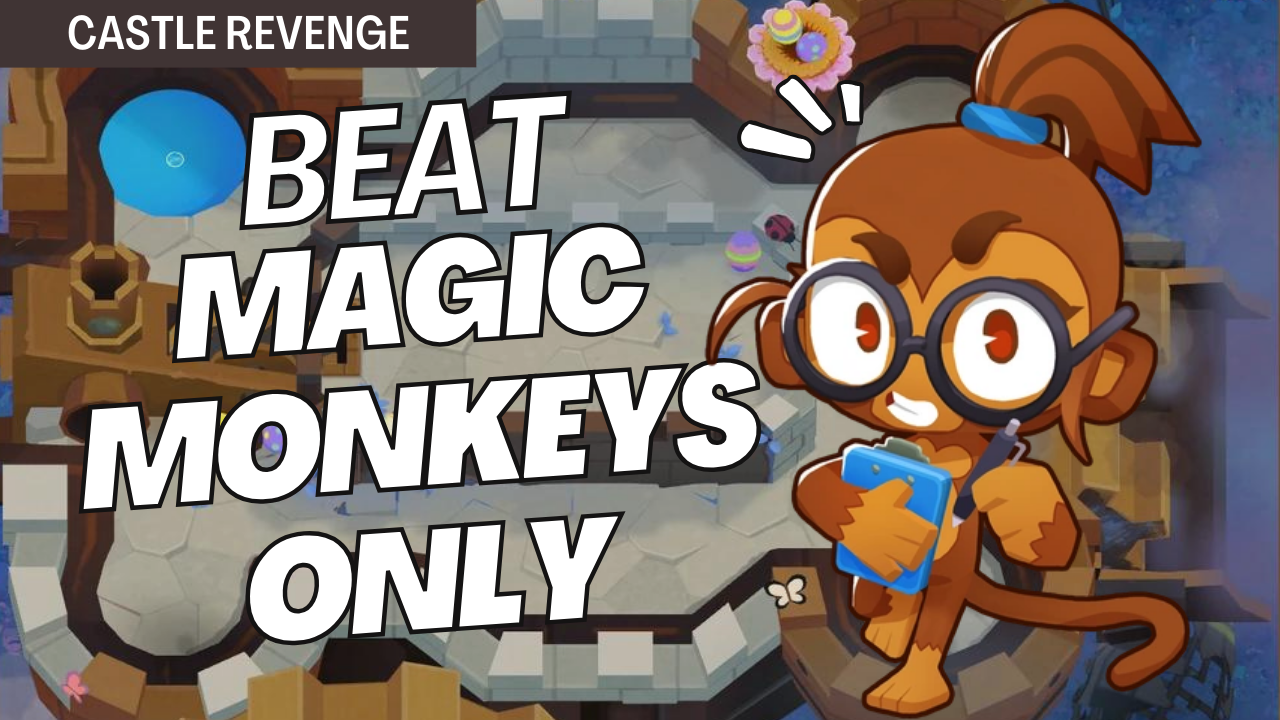
https://www.youtube.com/watch?v=DNttcyEnG3g How to Beat Magic Monkeys Only Mode (Hard) on Castle Revenge - BTD6 Strategy
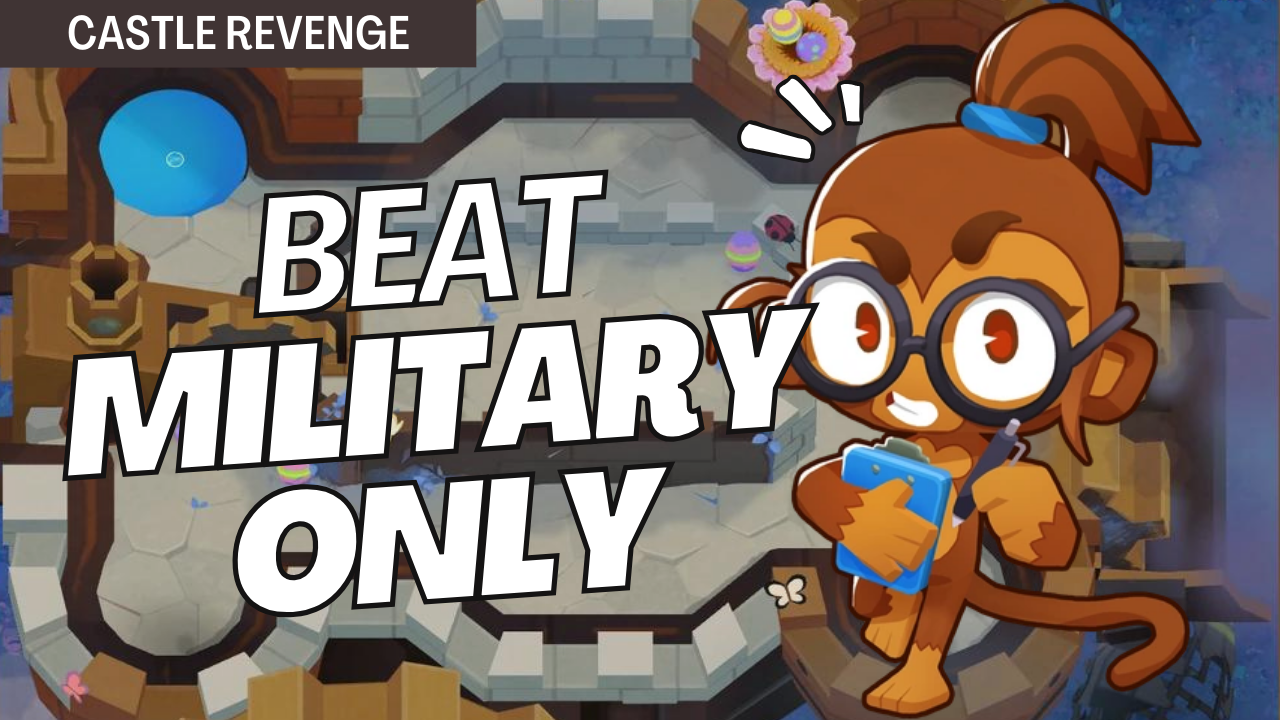
https://www.youtube.com/watch?v=_PxU_GbBO3w How to Beat Military Only Mode (Medium) on Castle Revenge - BTD6 Strategy
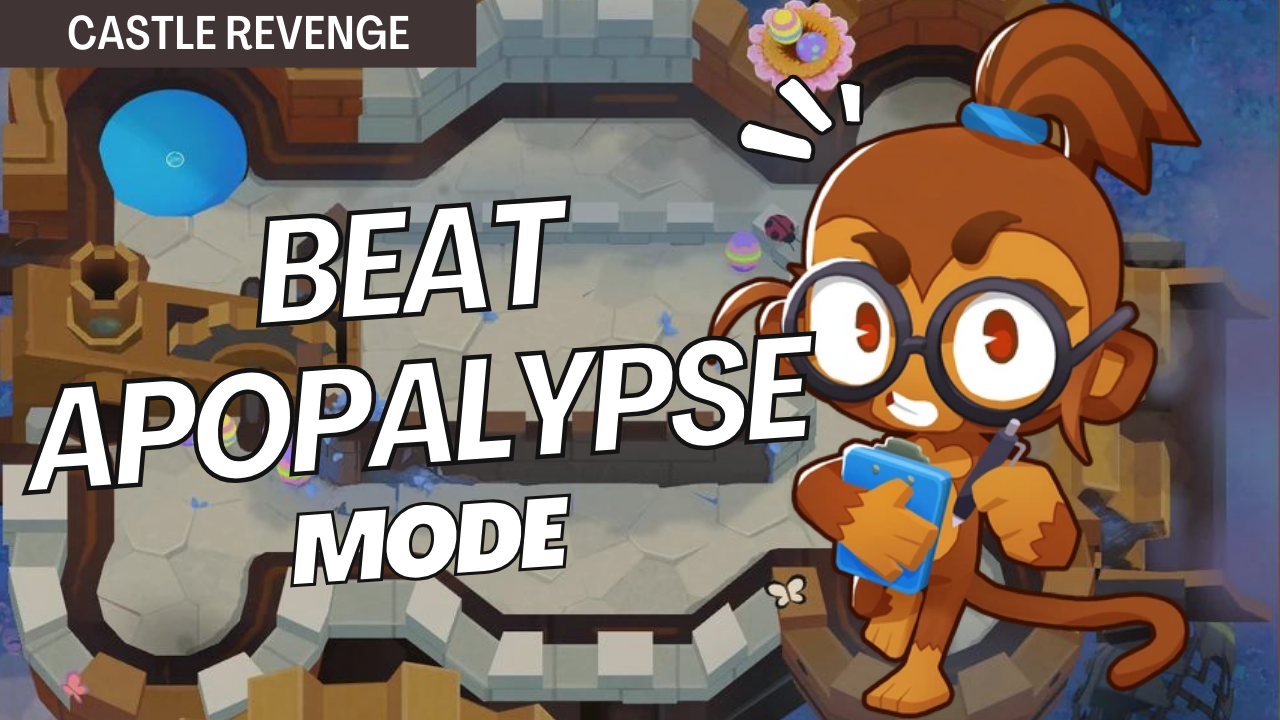
https://www.youtube.com/watch?v=1keighmnOm0 How to Beat Apopalypse Mode (Medium) on Castle Revenge - BTD6 Strategy