How to Beat Deflation on Glacial Trail
https://www.youtube.com/watch?v=AAiSuo3G3bg How to Beat Deflation Mode (Easy) on Glacial Trail - BTD6 Strategy
Bloons TD 6 guides for every map and mode, daily challenges and the BTD6 Pedia

https://www.youtube.com/watch?v=AAiSuo3G3bg How to Beat Deflation Mode (Easy) on Glacial Trail - BTD6 Strategy

https://www.youtube.com/watch?v=T1PQYQQl4ew How to Beat Primary Only Mode (Easy) on Glacial Trail - BTD6 Strategy

https://www.youtube.com/watch?v=Xjcrj9L1O2I How to Beat Level 100 (Hard) on Glacial Trail?- BTD6 Strategy Guide
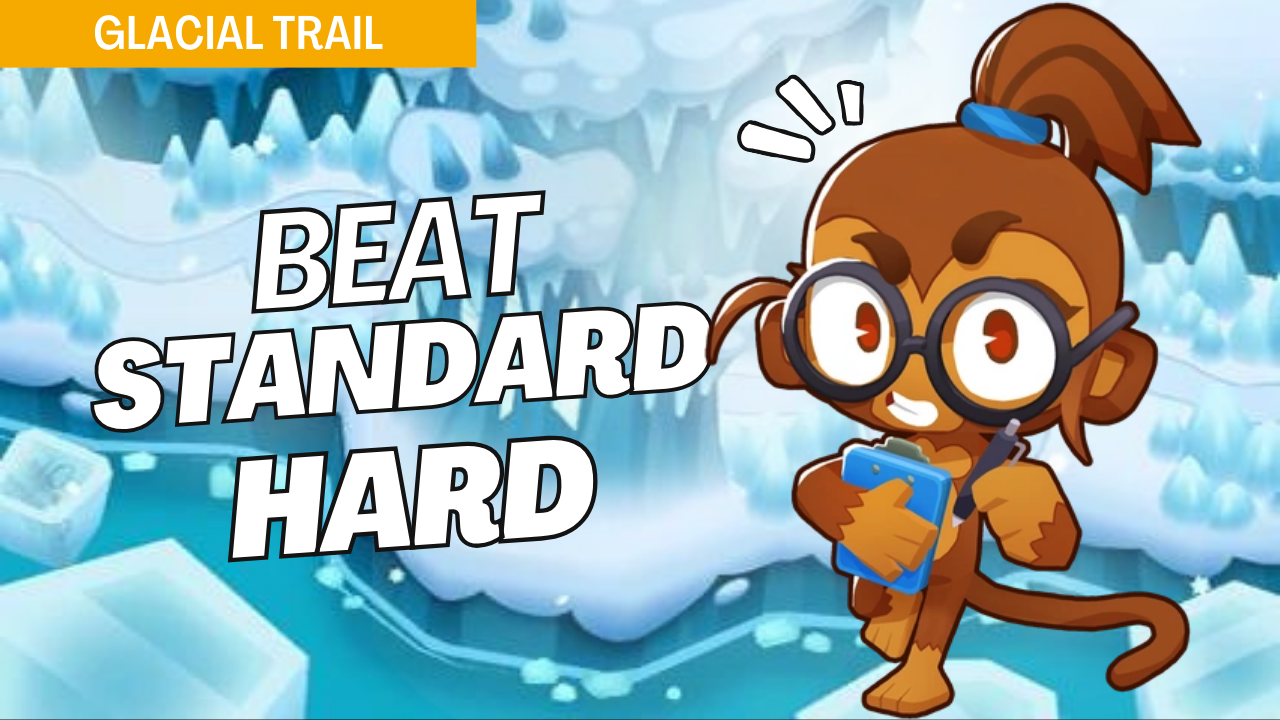
https://www.youtube.com/watch?v=Ds_yEvasLZk How to Beat Standard Mode (Hard) on Glacial Trail - BTD6 Strategy
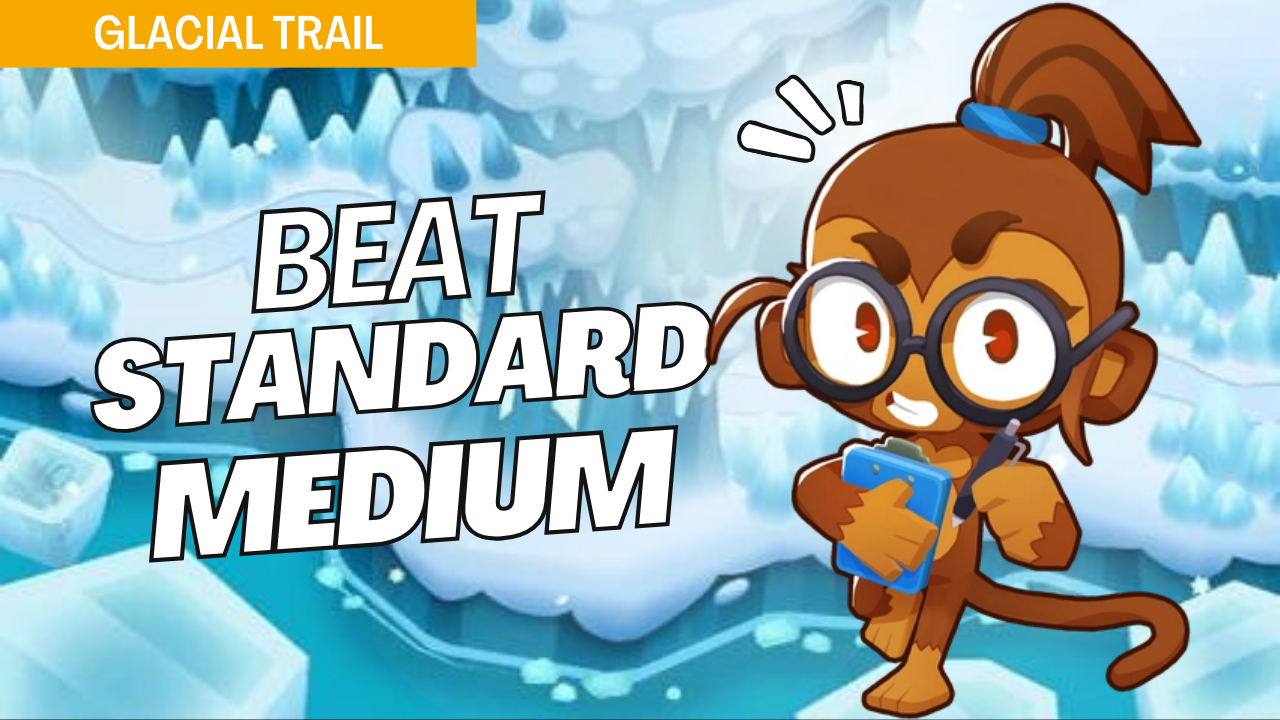
https://www.youtube.com/watch?v=SRKeG9t2sQA How to Beat Standard Mode (Medium) on Glacial Trail - BTD6 Strategy
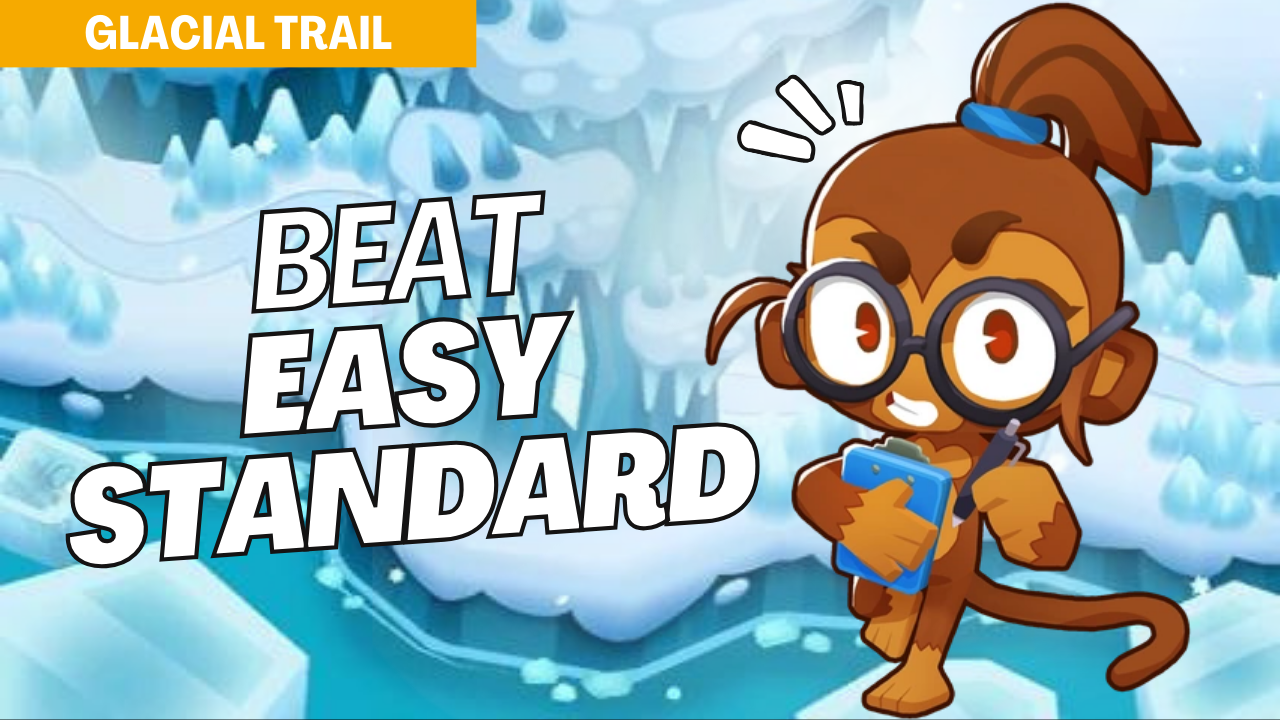
https://www.youtube.com/watch?v=N7SbZyjlCp8 How to Beat Standard Mode (Easy) on Glacial Trail - BTD6 Strategy

https://www.youtube.com/watch?v=w0VFwraUgkg How to Beat CHIMPS Mode (Hard) on Tinkerton - BTD6 Strategy

https://www.youtube.com/watch?v=-zu3TmHf0CI How to Beat Impoppable Mode (Hard) on Tinkerton - BTD6 Strategy
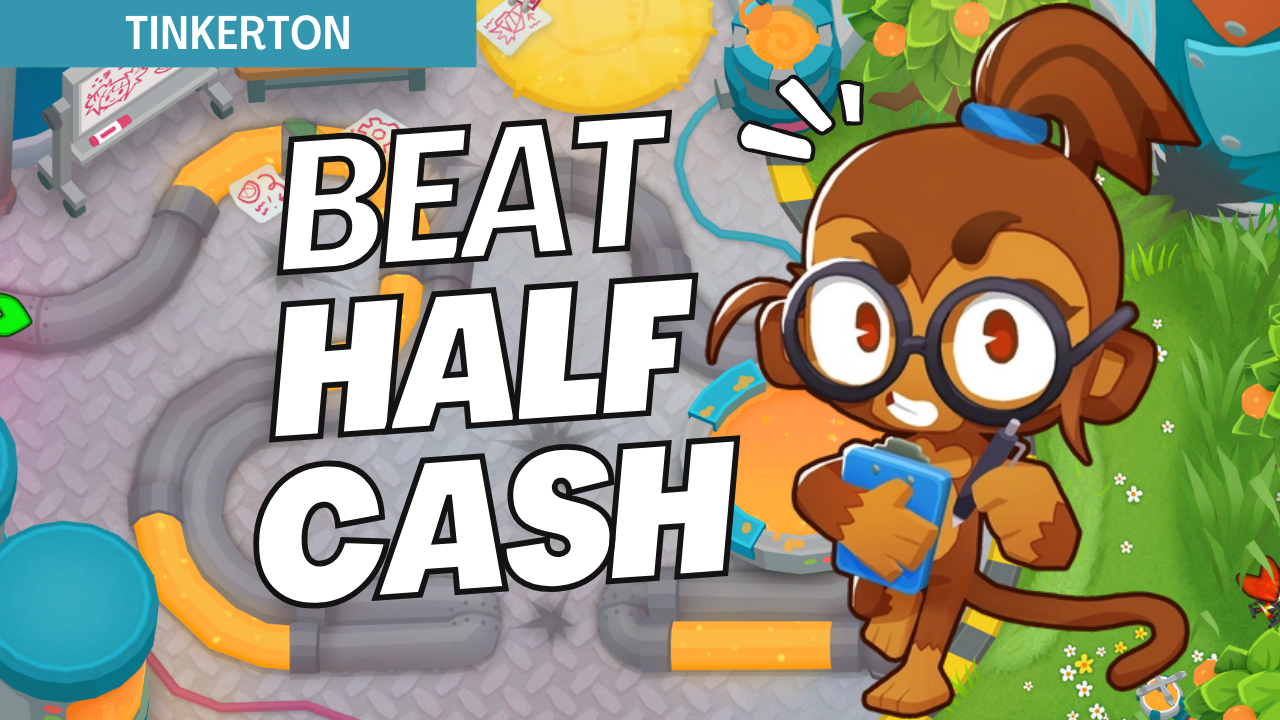
https://www.youtube.com/watch?v=B-PIpZMkVpc How to Beat Half Cash Mode (Hard) on Tinkerton - BTD6 Strategy

https://www.youtube.com/watch?v=hXrG8yXO0Lc How to Beat Double HP Moabs Mode (Hard) on Tinkerton - BTD6 Strategy

https://www.youtube.com/watch?v=DJGCA7KmOm4 How to Beat Alternate Bloons Rounds Mode (Hard) on Tinkerton - BTD6 Strategy
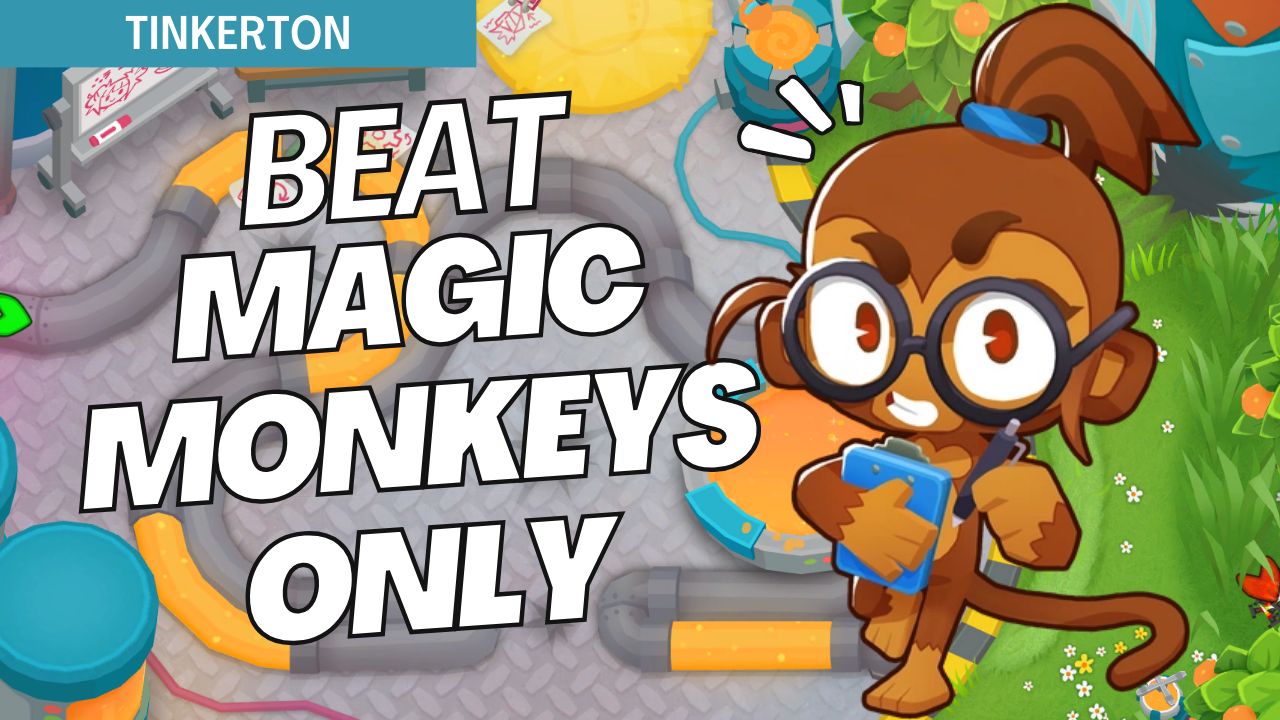
https://www.youtube.com/watch?v=3dEWstnBGso How to Beat Magic Monkeys Only Mode (Hard) on Tinkerton - BTD6 Strategy
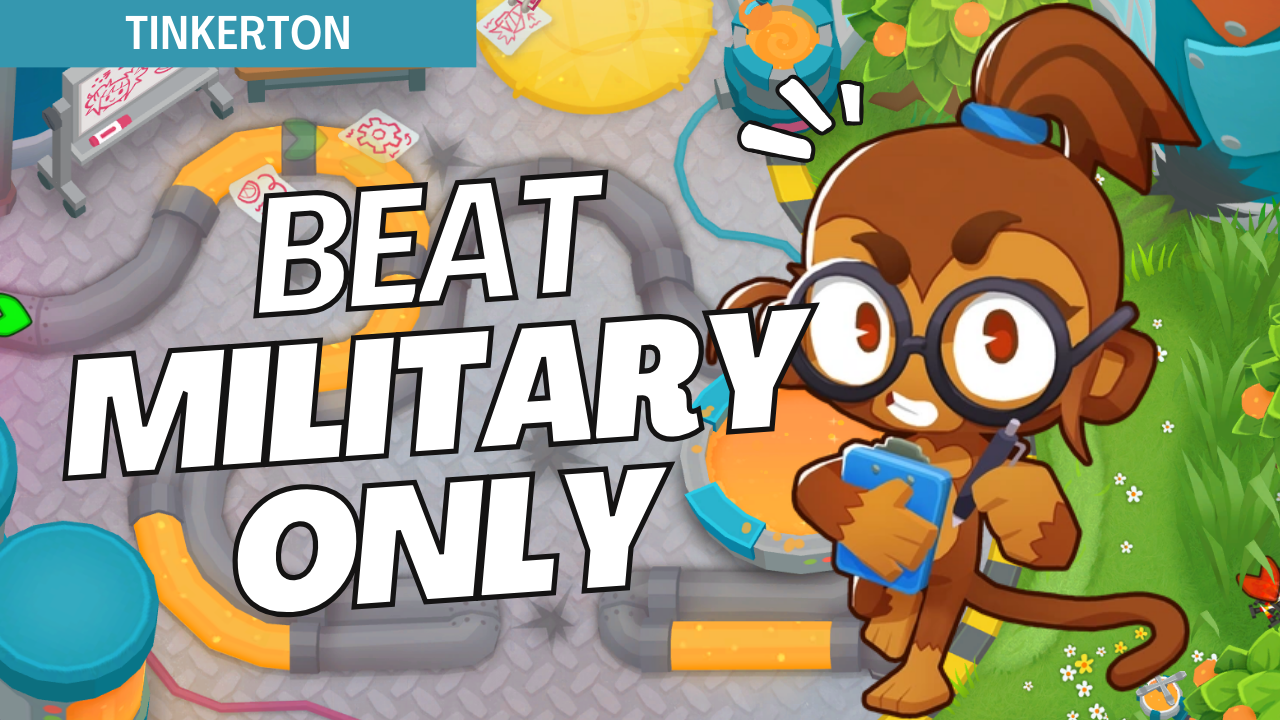
https://www.youtube.com/watch?v=ytb3aiZ2TFE How to Beat Military Only Mode (Medium) on Tinkerton - BTD6 Strategy
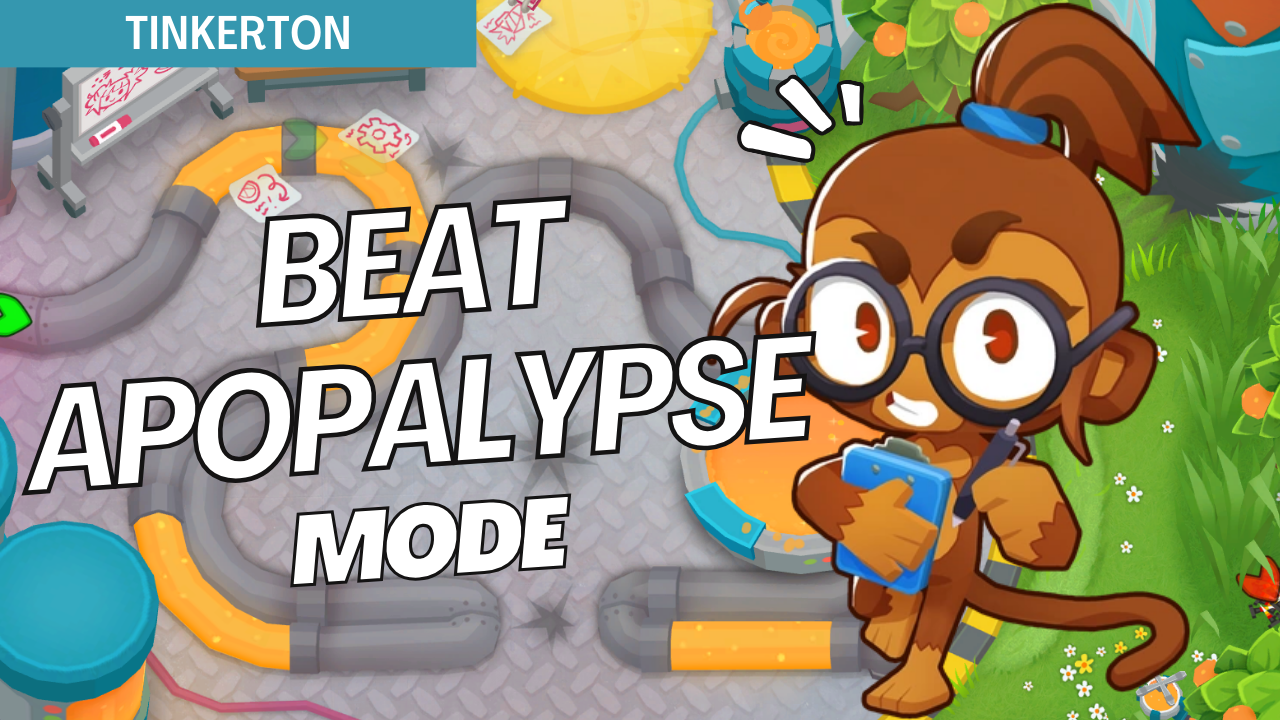
https://www.youtube.com/watch?v=yLzf-XSP4xE How to Beat Apopalypse Mode (Medium) on Tinkerton - BTD6 Strategy
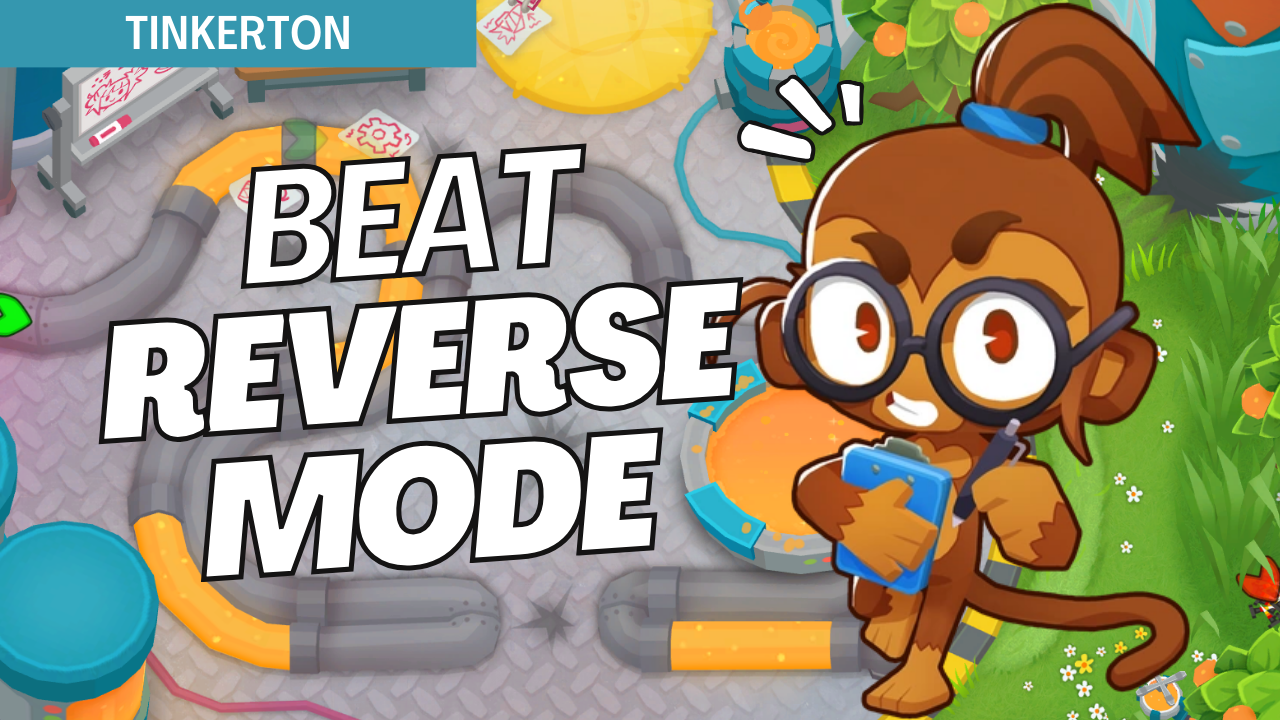
https://www.youtube.com/watch?v=lXxuSwXt-4I How to Beat Reverse Mode (Medium) on Tinkerton - BTD6 Strategy